Isora GRC Compliance Hub
Introduction
The Isora GRC Compliance Hub is a tool used by the PrISM Compliance Support Program (CSP) for conducting self-assessments and evaluating security program maturity levels for each unit within UBC.
User Guidelines
Notification Email
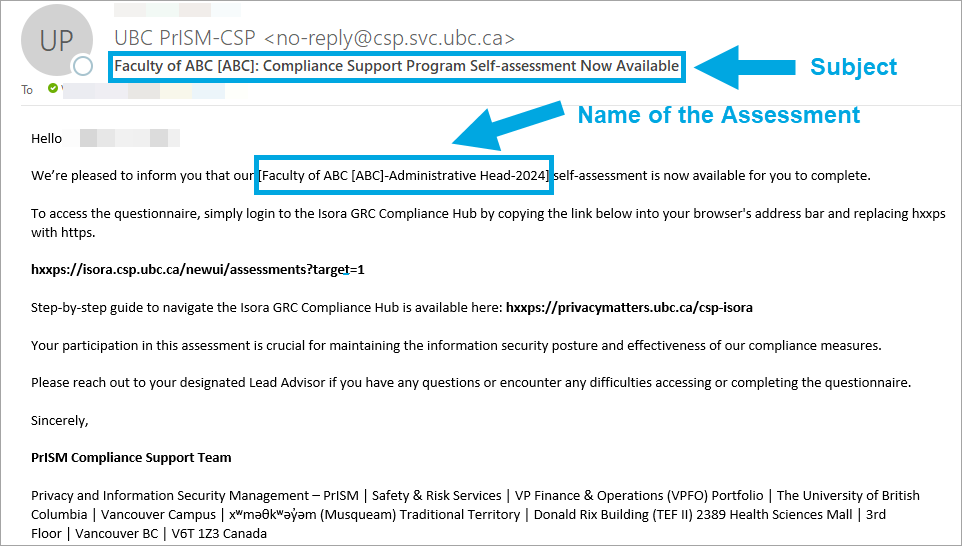
Your self-assessment starts shortly after your onboarding engagement with the CSP Team, including your assigned Lead Advisor. You will receive an email similar to the one below, prompting you to access the Isora GRC Compliance Hub to complete your self-assessment.
Accessing Isora GRC Compliance Hub
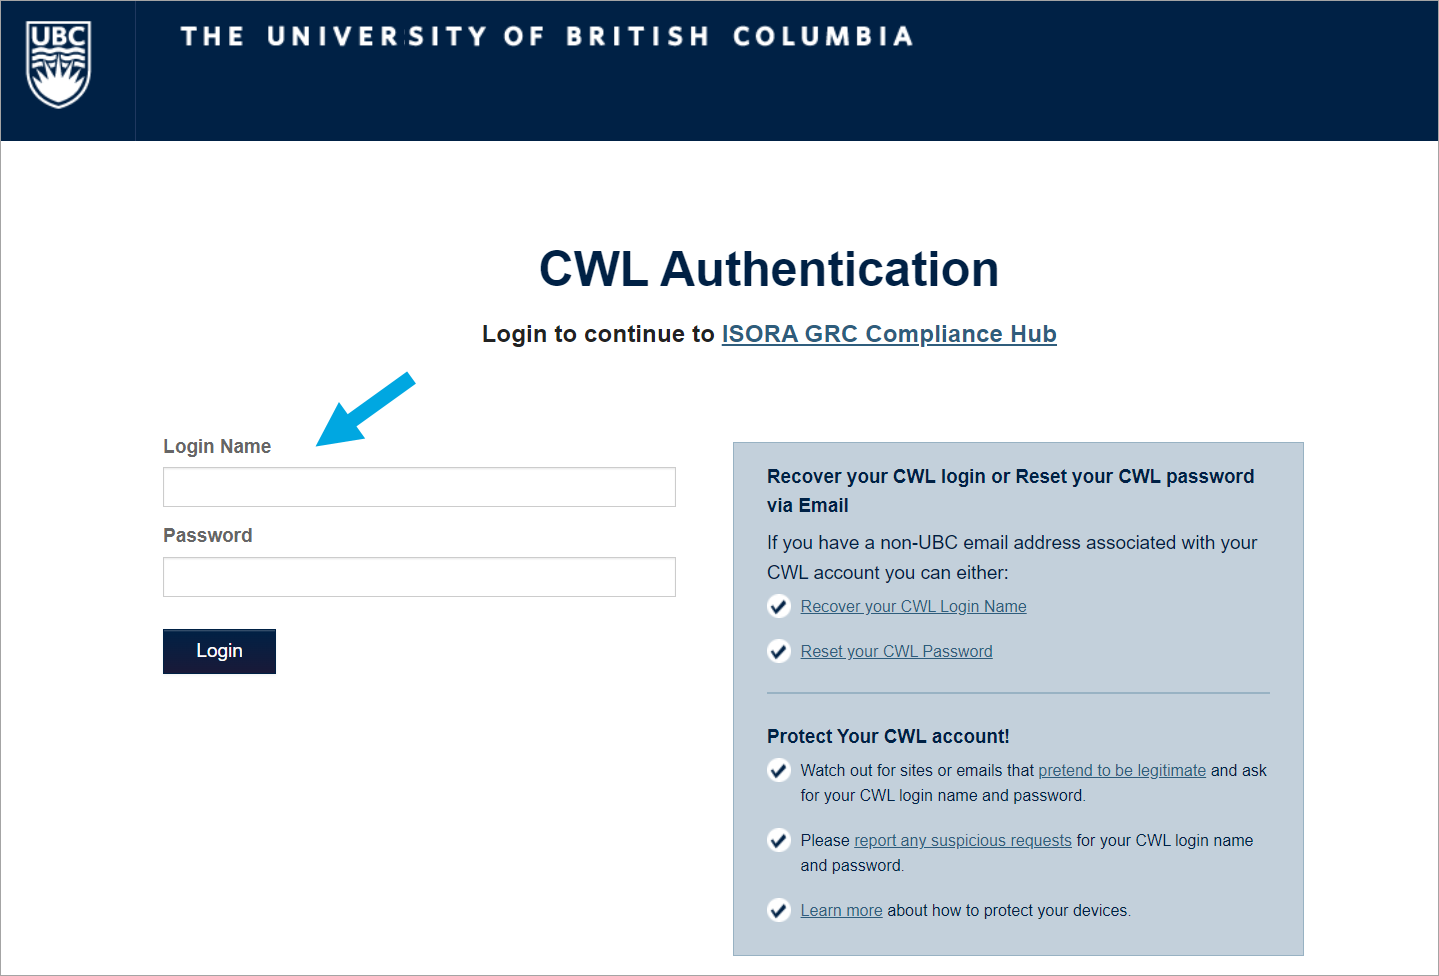
You can access the hub via the link provided in the email – replace the “xx” with “tt” in the “hxxps://” portion of the link, copy and paste it to your browser of choice. You will be directed to log in to the Isora GRC Compliance Hub platform with your CWL credentials. Alternatively, you can access the hub by clicking here.
Navigating in the Self-Assessment Module
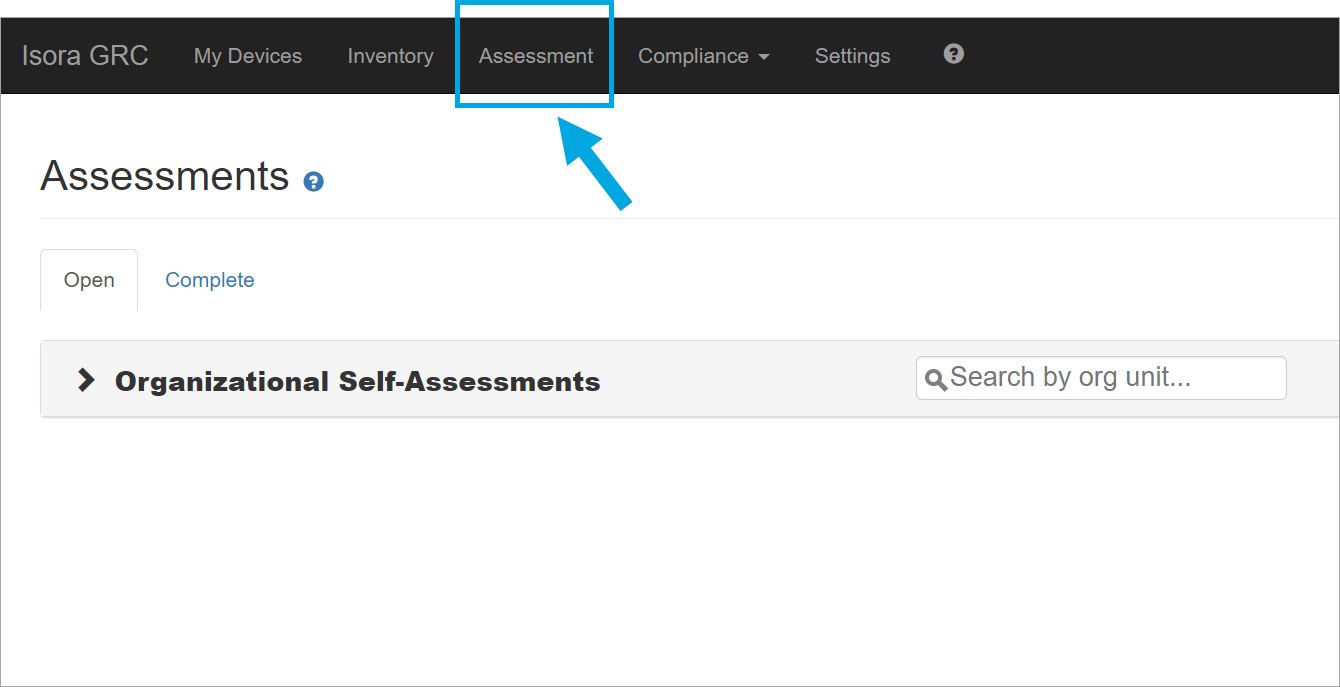
Once logged in, click on the "Assessment" tab.
Starting the Self-Assessment
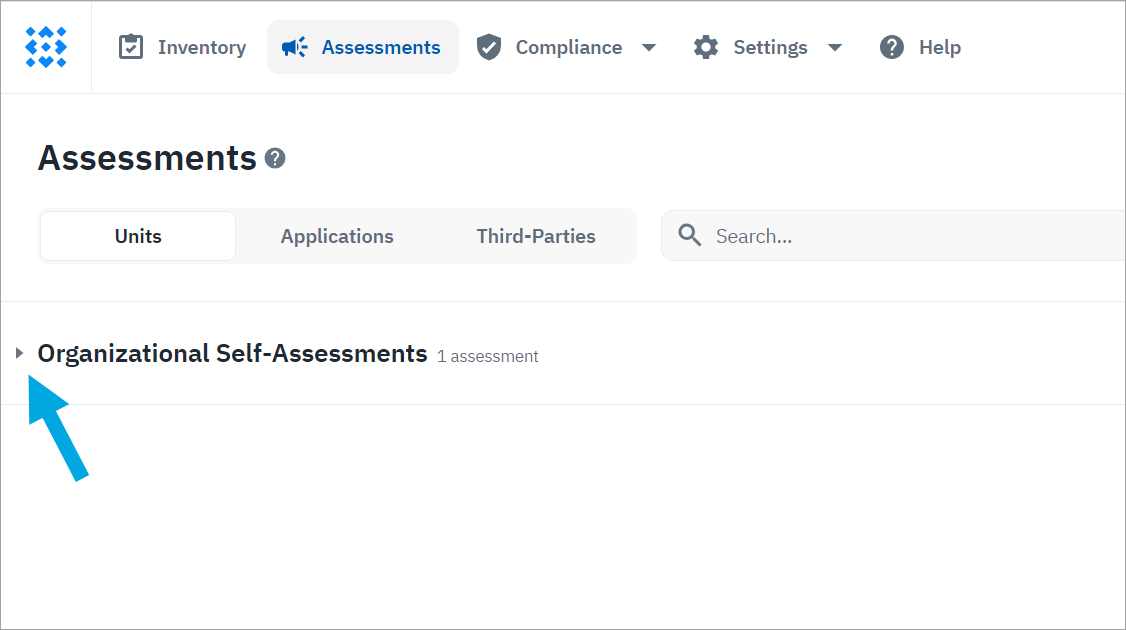
Begin or continue a self-assessment by clicking on Organizational Self-Assessment bar
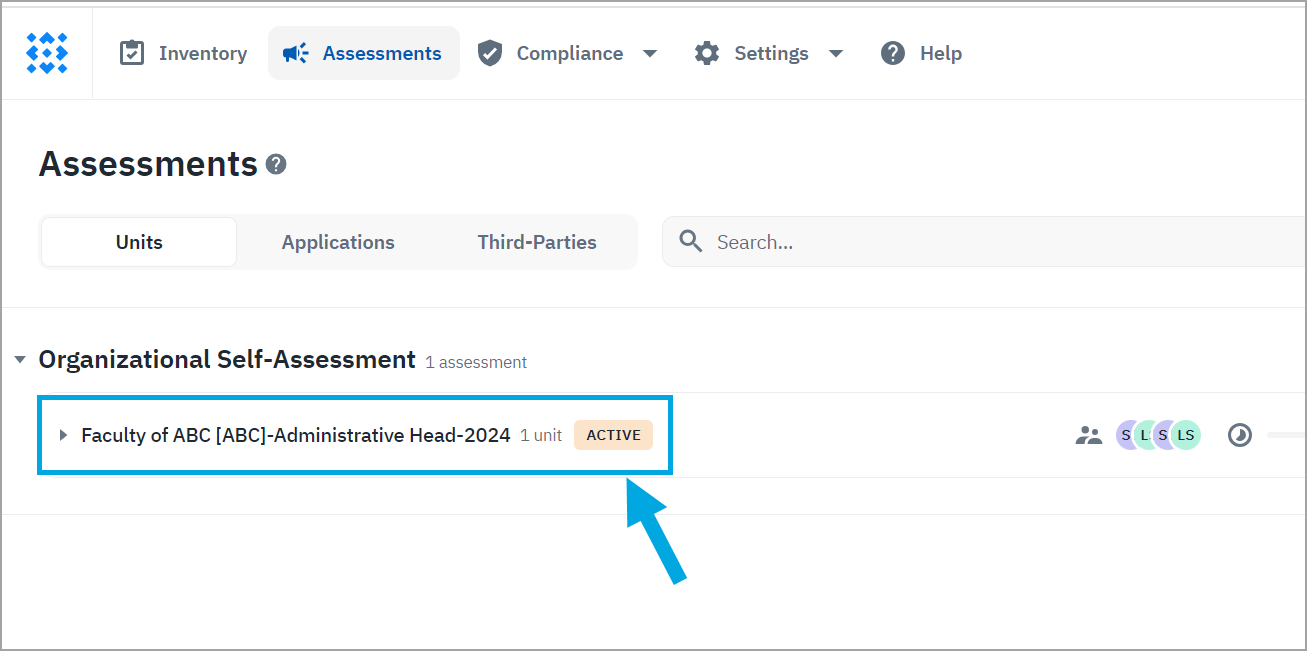
Proceed by clicking the “active” button
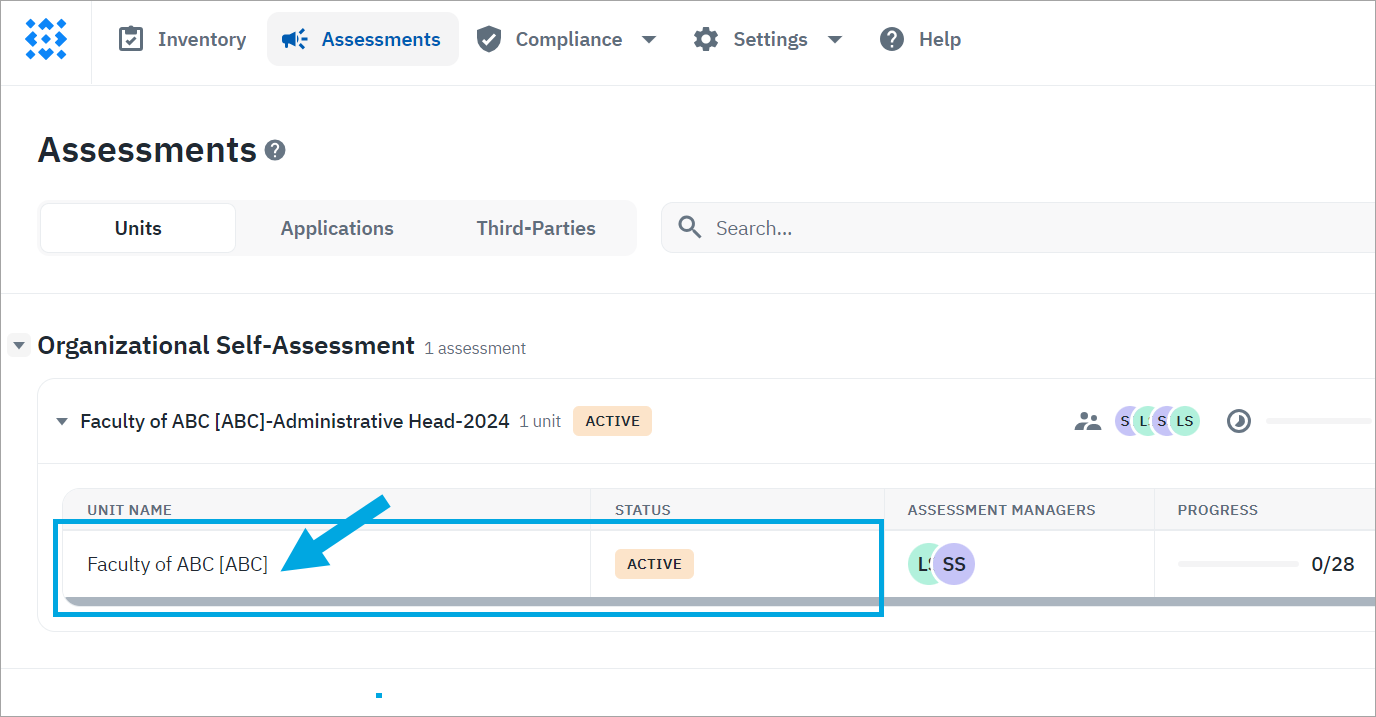
Press on the bar containing your Unit Name and your self-assessment will open.
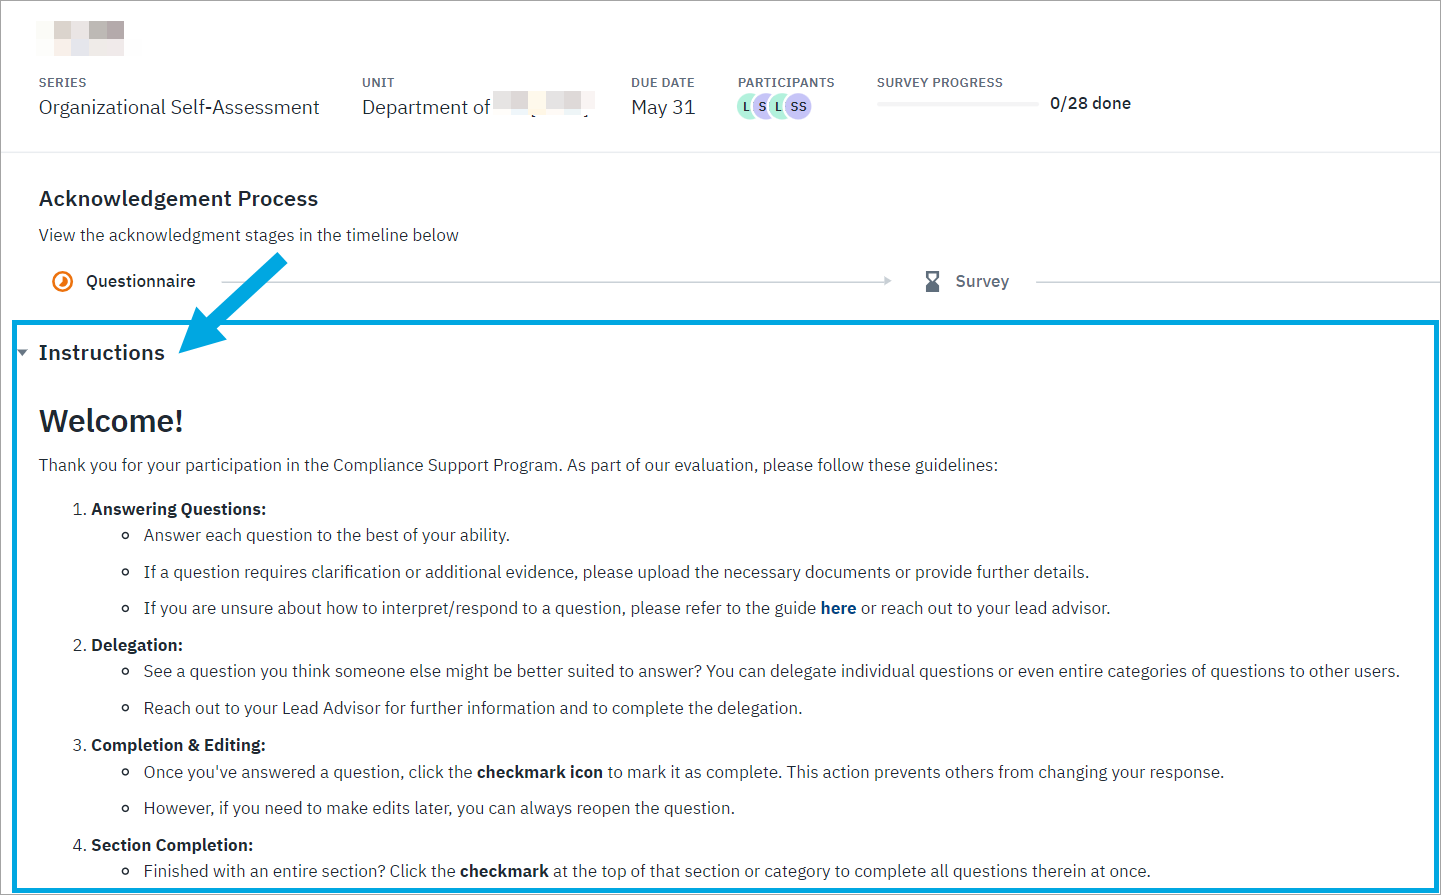
Review the Instructions, make sure to scroll down to read them all.
Know Before You Start
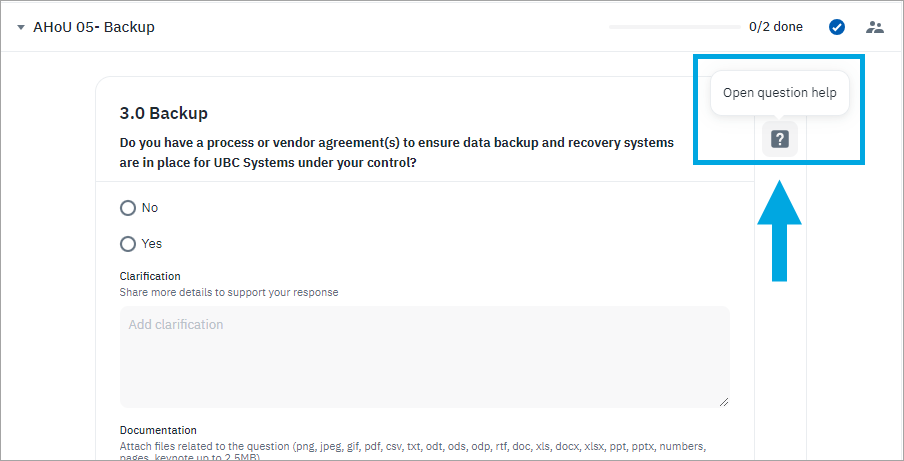
At any point during the assessment, you can hover over and click on the “question mark icon” for additional information. A tab will open on the right-hand side of your screen with a link to the Compliance Support Program website which contains detailed instructions, supporting materials and more context that may help improve understanding.
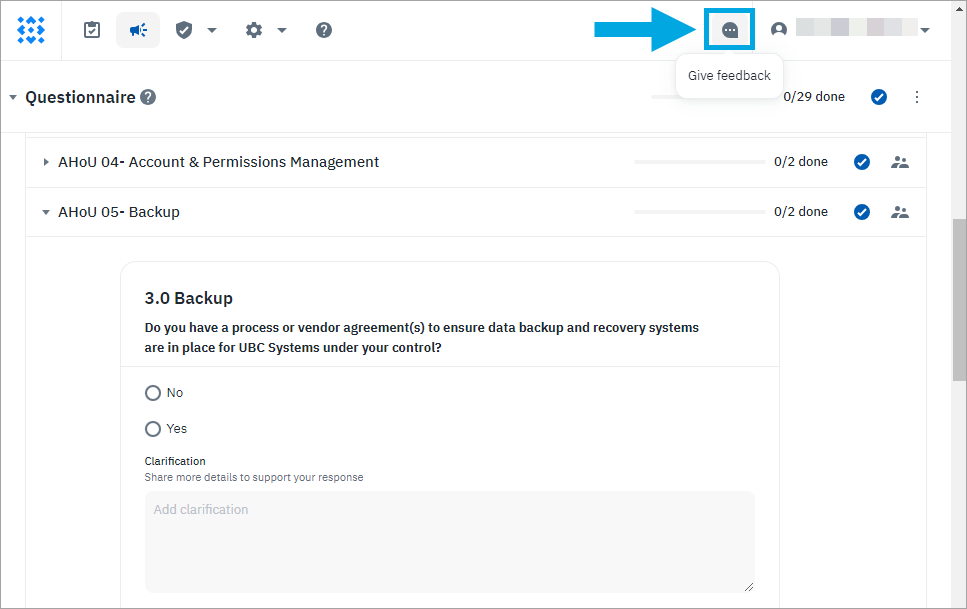
If you have questions for our team, simply click on the dialogue icon on the top right corner of your screen and an email window will appear for you to write your message.
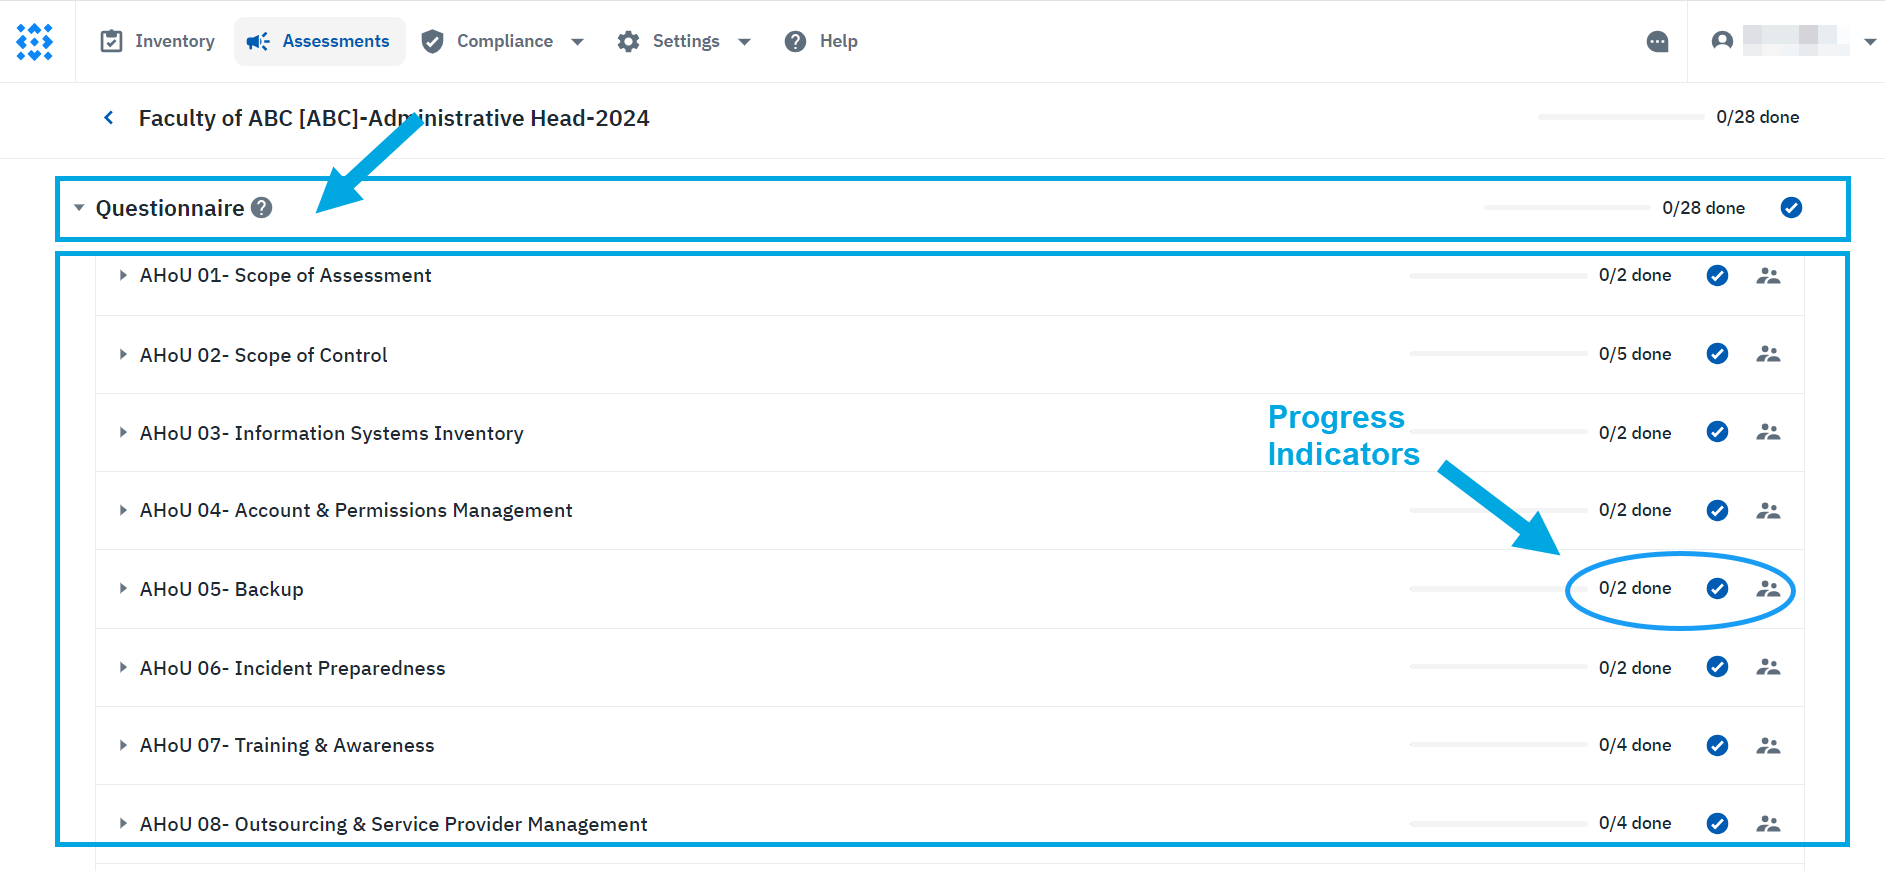
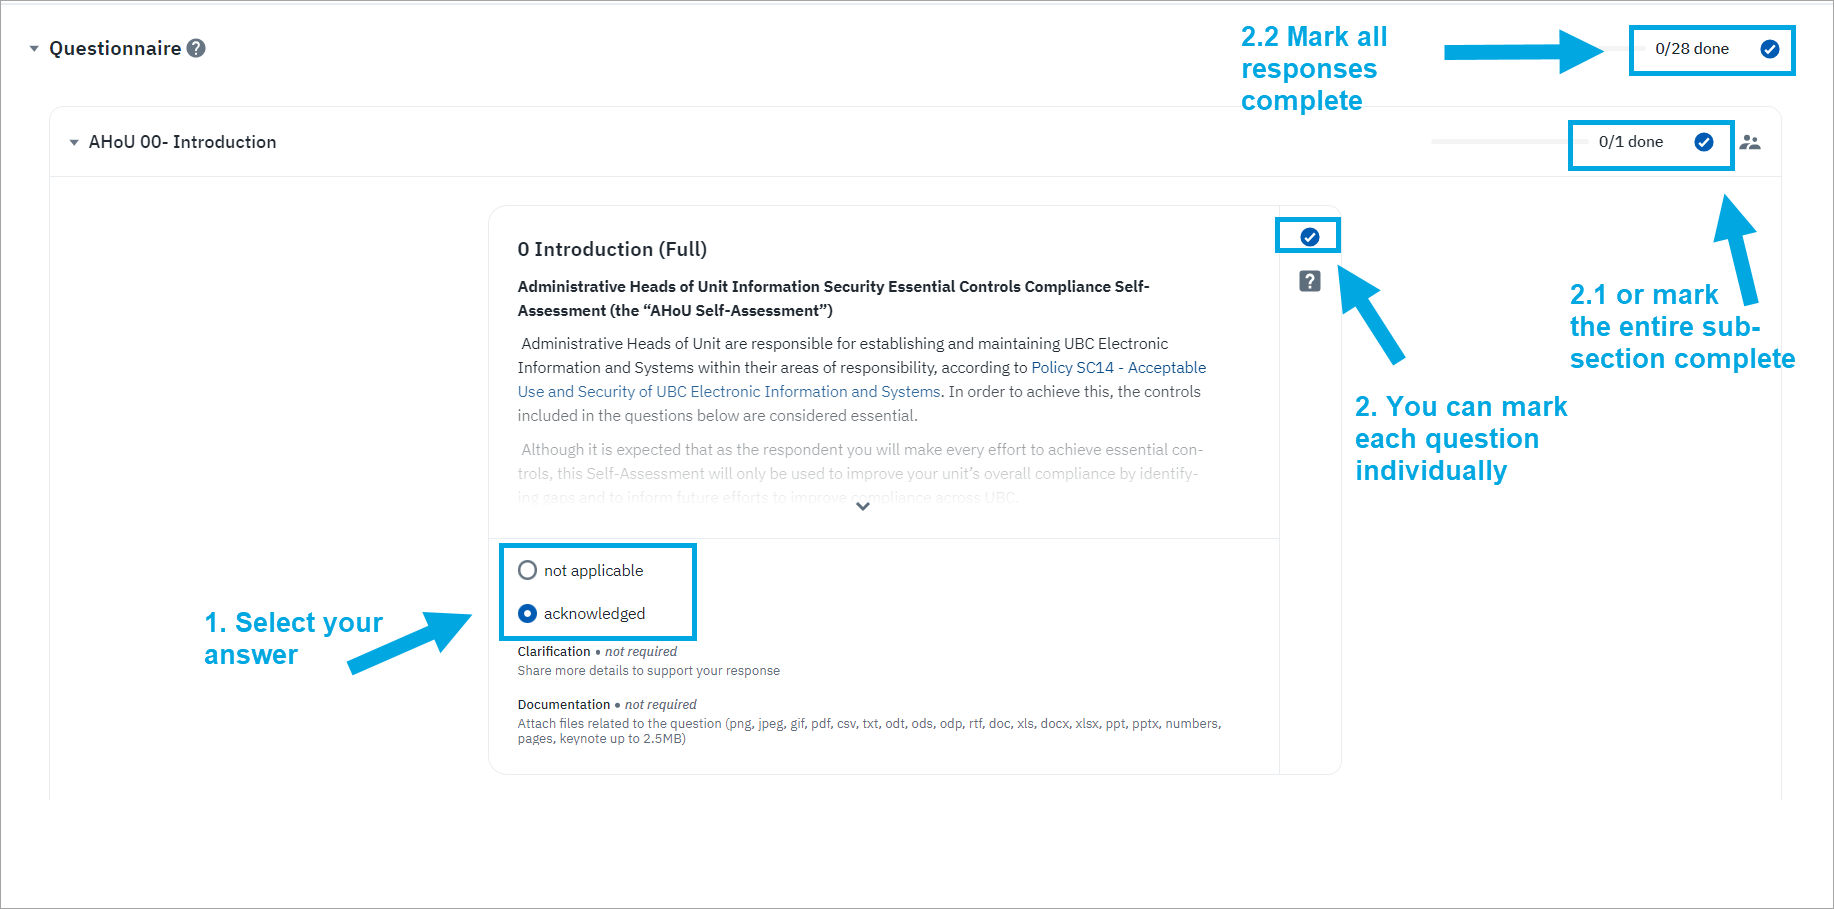
Scroll down to the next section to access the Questionnaire. Click on each sub-section to fill out your answers e.g., Scope of Assessment, Scope of Control, Information Systems Inventory etc.). Each sub-section may contain multiple questions, you will see the progress indicators on the right.
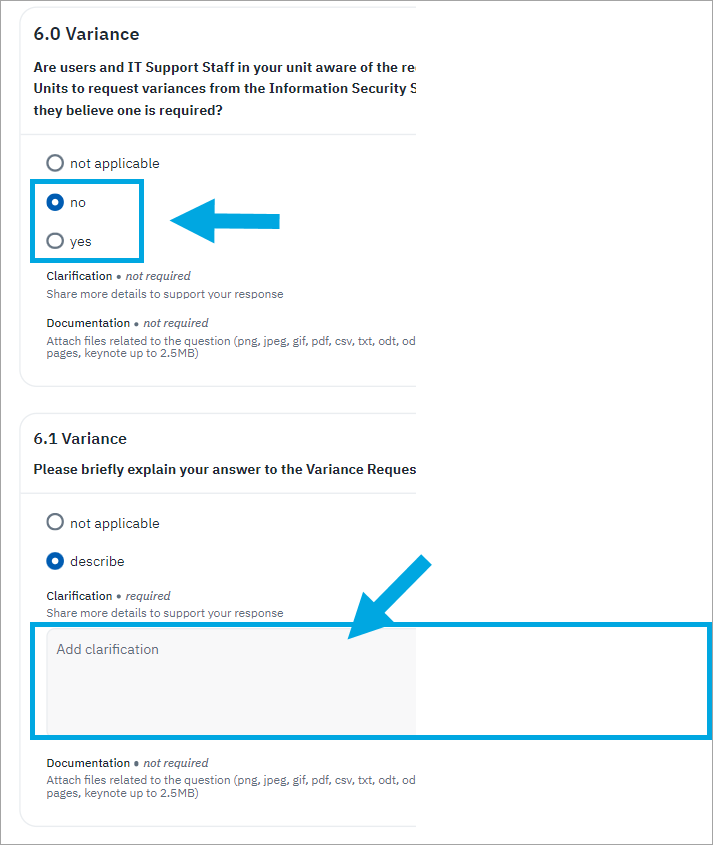
“Yes/No” and “Describe” Answers. Some questions will require only a “yes” or “no” answer, and they will be followed by a second request for an explanation of your answer, as shown in the example below. In these cases, use the free text box to answer as instructed.
Mark as Complete to Save Answers
After answering a question, click the checkmark icon to mark it as complete and save your answers. Each section may contain multiple questions, so make sure you mark each one as complete individually. Alternatively, to mark an entire subsection as complete, click the checkmark at the top of that section. As long as you follow these steps, you can return to your assessment and continue answering from where you left off. Please note that the tool doesn’t auto-save your answers, if you fail to take this step, you will lose the answers you have provided.
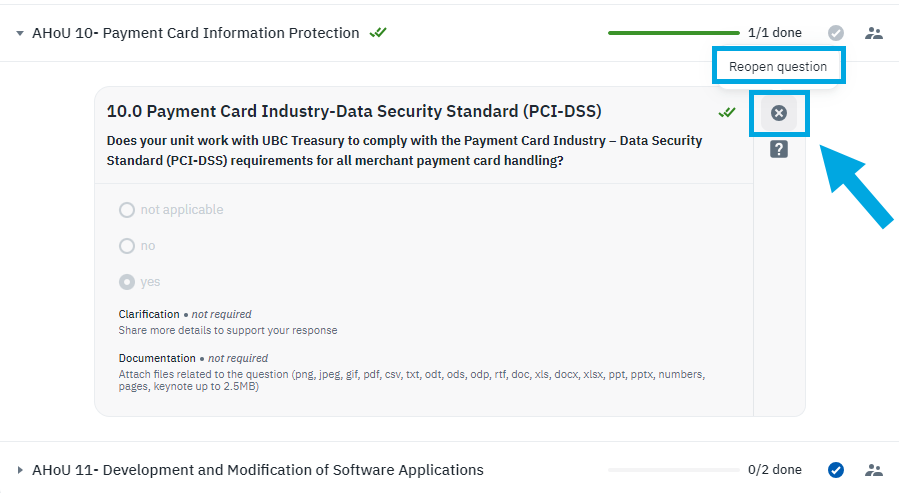
Modifying Response
If you need to change your answer later, you can do so by “reopening the question”. Open the sub-section and hover over to the right side of the question to reveal those additional options.
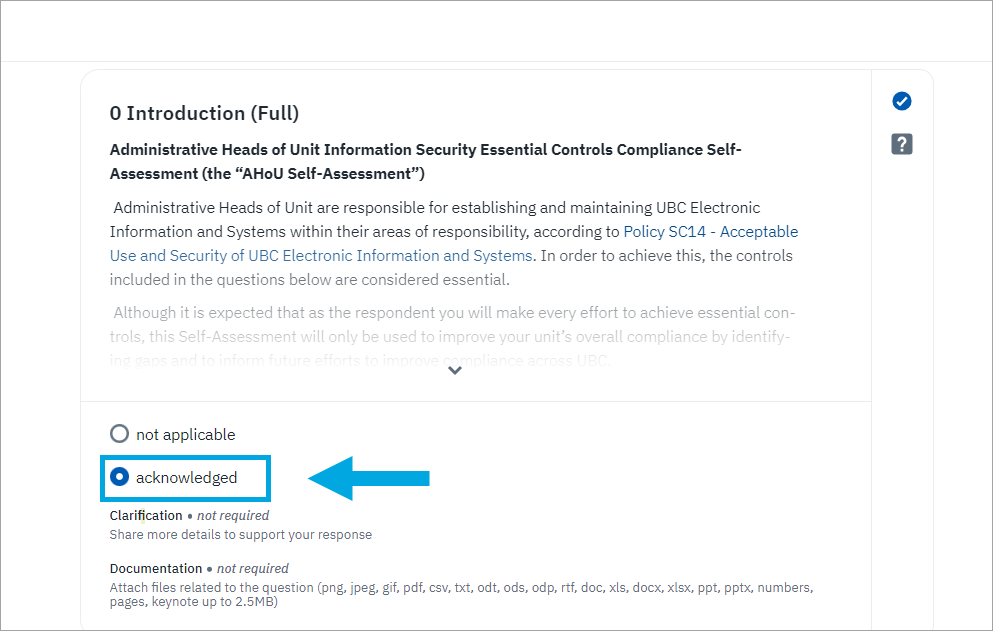
Informational Section
Some sections are for your information only, such as the Introduction. In those cases, please select “acknowledged” and continue with the assessment.
File uploads
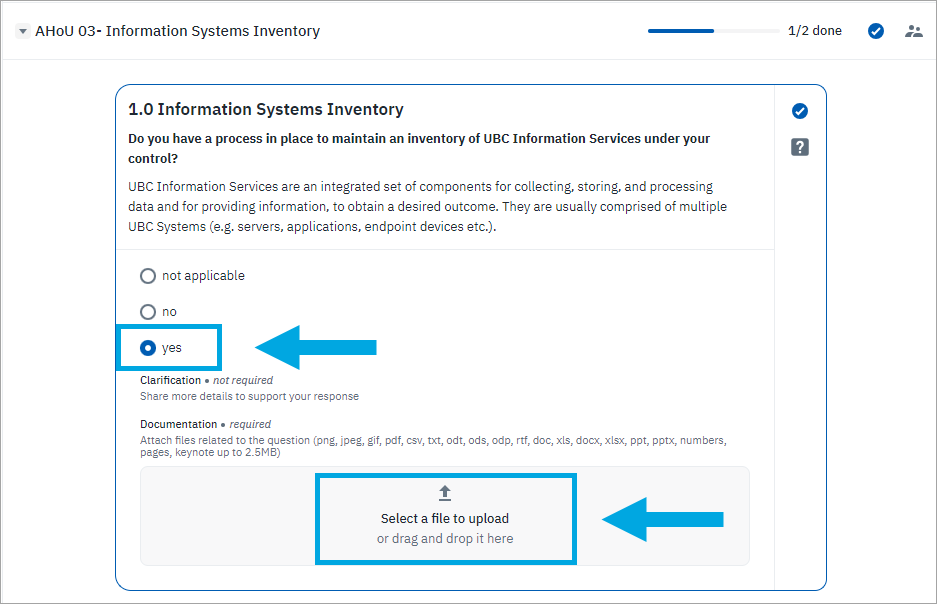
Certain questions will allow you to upload an attachment. In those cases, select “yes”, then click on “Select a File to upload”, a dialogue box will pop up for you to choose the file you would like to upload, or drag your file to the space indicated.
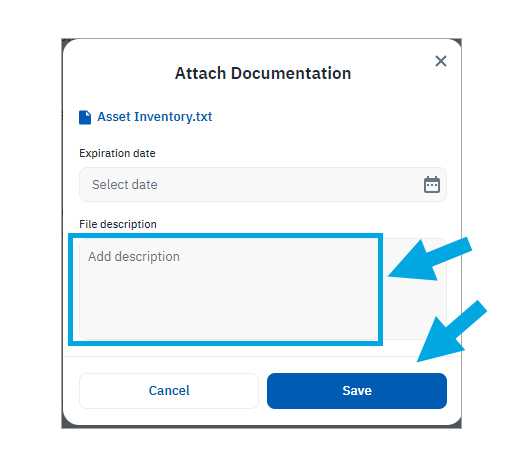
A new window will open up where you will describe the file, select an expiration date (optional), and click “Save”.
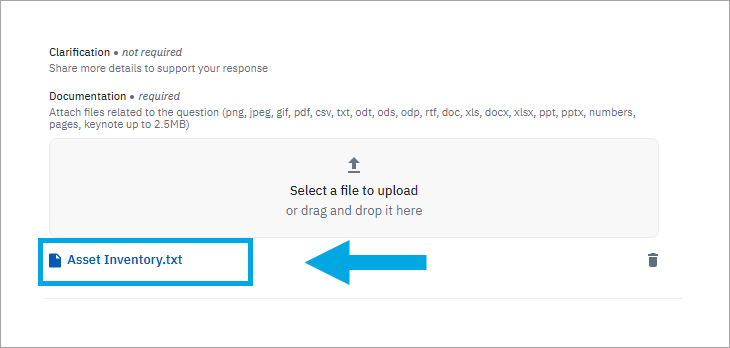
Your uploaded file name will appear in blue under “Attachments”, on the bottom left of the question box. If you need to delete it for any reason, simply click on the garbage can icon beside the file name.
Acknowledge #1
After finalizing and marking all questions as complete, at the very bottom you will be prompted to acknowledge your responses.

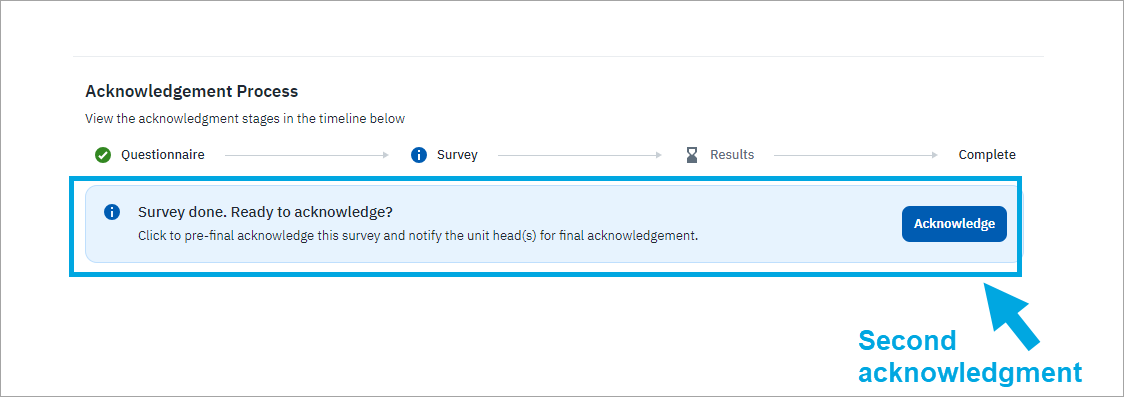
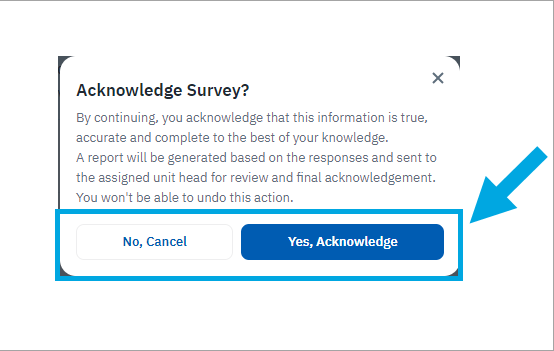
Acknowledge #2
Once you’ve clicked on the first acknowledgement, you will be prompted to the second acknowledgement to attest to your answers one more time.
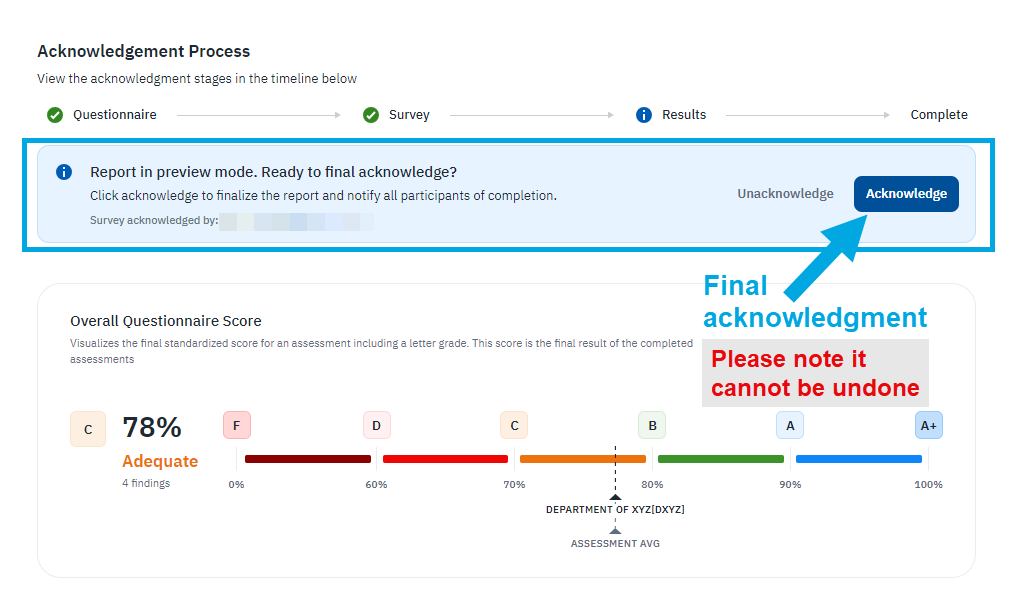
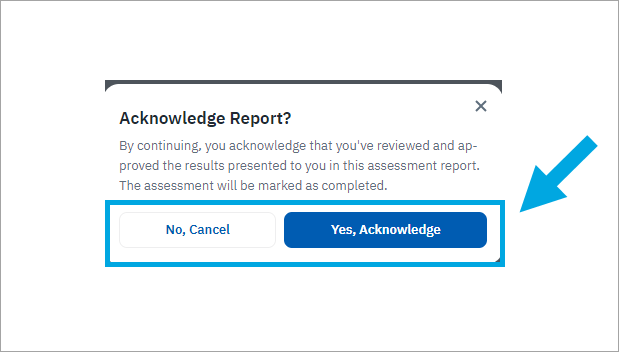
Self-Assessment Results Discussion
Your Lead Advisors will set up a meeting with you to go over the results of your self-assessment and discuss the gaps and findings. Once the results have been finalized and approved by the Administrative Head of your Unit, the Lead Advisor will request your final acknowledgement at the ISORA GRC COMPLIANCE HUB. That will be the final acknowledgement on the tool and it cannot be undone.